- Stats: 1270 0
- Posted: July 2, 2019
- Category: What To Do
Photographing Landscapes
In search of the perfect shot
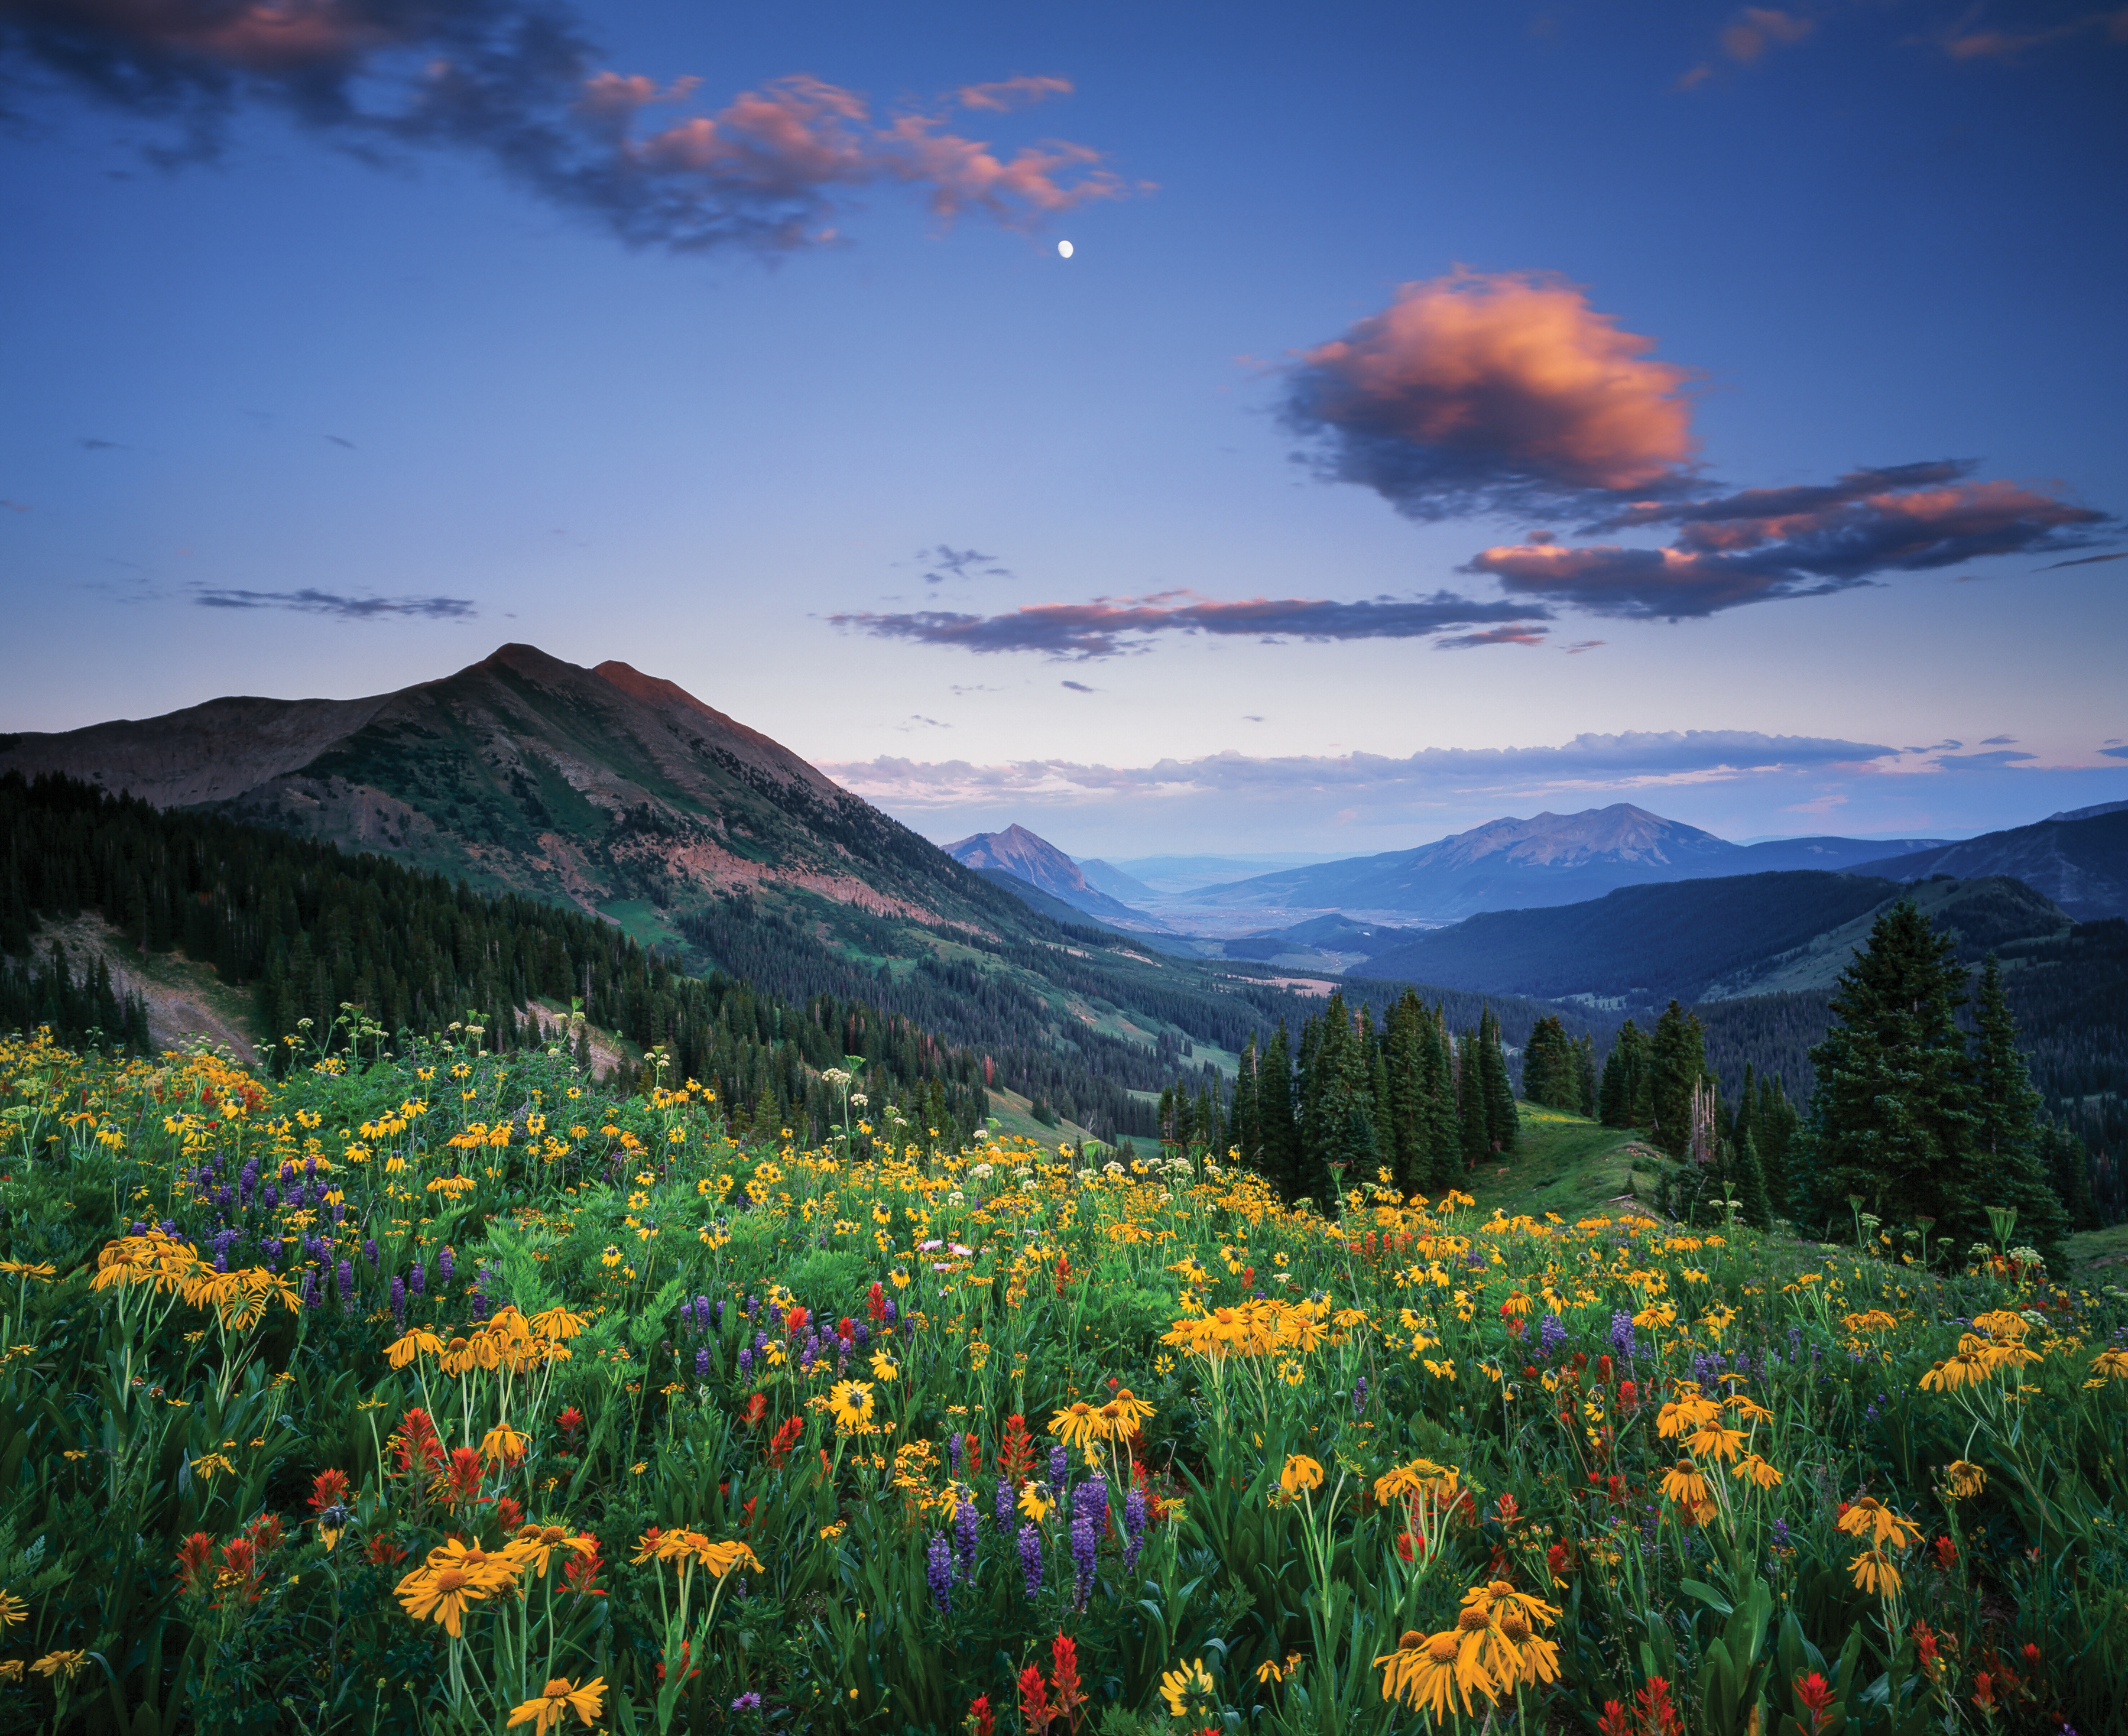
The scenery in and around Crested Butte attracts artists of all kinds, especially photographers. Professionals and amateurs alike want to depict the beauty and the emotions it evokes. But creating photographs that capture the magic of the real thing isn’t always easy. Local landscape photographer Raynor Czerwinski shares some great tips for photographing Crested Butte’s incredible landscapes.
The background is just as important as the foreground, Soft light is essential.
1. When photographing wildflowers close up, we all want the flower to take center stage. To help achieve this, the background must be devoid of distracting elements. Sticks, dark rocks, strong shadows or even other flowers can pull the viewers eye away from the main subject. Do your best to create a background that supports the main subject, not one that challenges it.
2. Overcast days are your friend! Soft, diffused light renders the delicate features of a flower best. So how do you achieve this when Colorado has close to 300 sunny days per year? Look no further than a white plastic garbage bag. On bright sunny days, place the bag between the light source (the sun) and the subject (a flower and its background). This diffusing technique will soften the light, colors will become more vivid, and harsh lines from shadows will disappear. You can do this anytime of day, even at high noon when it’s not recommended to shoot landscapes. Carry a white plastic garbage bag with you at all times, and if you don’t end up using it for wildflower portraits, use it to hold the trash you pick up on the trail.
3. Use wide apertures. Generally, it is best to separate your subject from the background when shooting portraits. The same is true for photographing wildflowers. Set your lens to its widest aperture to achieve this, f/2.8 or f/3.5 will work great. Most mobile phone cameras have a portrait mode; be sure to use that setting while doing this. And remember this when thinking about lens apertures: smaller numbers (f/2.8) create a small areas of focus, and larger numbers (f/16) create large areas of focus
Understanding Light, Patience and Experimentation.
1. As photographers we are literally drawing with light. The word “photography” comes from the Greek word photos “light” and graph “to draw.” A common mistake among beginner photographers is to shoot landscapes at midday. Sure, the bright light, blue skies and dazzling wildflowers look beautiful to our eyes, but in general, the bright and high contrast light does not translate to a camera very well.
2. There is a term you may have heard photographers use called “Golden Hour.” We are referring to the time around sunrise and sunset when the sun is low on the horizon, or below it. During this time, the light gets warmer and can produce those mesmerizing displays of color in the sky or on the peaks we all love. One thing to remember at high altitudes such as Crested Butte is that the golden hour is more like the golden 15 minutes. Light changes fast up here due to the lack of atmosphere and low humidity, so it’s good to be set up and on location well before the show starts.
3. Patience is key in any creative endeavor, especially photography. I rarely make a stellar image on my first session at a new location. It takes multiple visits in different conditions before I get to know a location. When I review my images from a particular session, usually days or weeks after I make them, I will inevitably find areas of improvement. I make notes and return to the location time and time again to refine these results. A book is never acceptable at its first draft, the same is almost always true with a photographic image.
4. The final thing to keep in mind is to experiment. The path to a well composed and striking image is not a straight one. There are lots of dead ends, cliffs and switchbacks. This is a good thing. I recommend you embrace this process and become friends with the images that don’t work. These ‘failures’ are fantastic teachers; this is how we learn and progress as artists. Ask yourself some questions that challenge how you are seeing or interpreting a scene next time you are out photographing. What would this location look like at sunrise instead of sunset? Would a stormy and dramatic sky work better here than this clear sky I’m presented with? How would this look in Black and White? What am I feeling right now and how can emphasize that in my image? Is this more of a panoramic image? Challenge yourself with questions like these, and don’t be afraid to experiment and fill up your flash card with all of your creative ideas.


